Setup Guide
When starting to run a web server its best to choose one of the behmoths of
global web serving. If possible start with Internet Information Server as its
nearly all GUI based which makes the beginning less daungnting and easier to
configure. If IIS is not available then the other realistic choice is Apache,
which has been the most used web server client globally since 1999, it has a
relatively small footprint and highly scaleable and customisable but more
difficult to use for a newcomer as its not as simple as click to install and its
running. That said it is simple to create a working website and with it being
open source it has community help and a chioce of ready made solutions to fit
most needs.
Installing IIS / Installing Apache
Windows Server / Windows Workstation
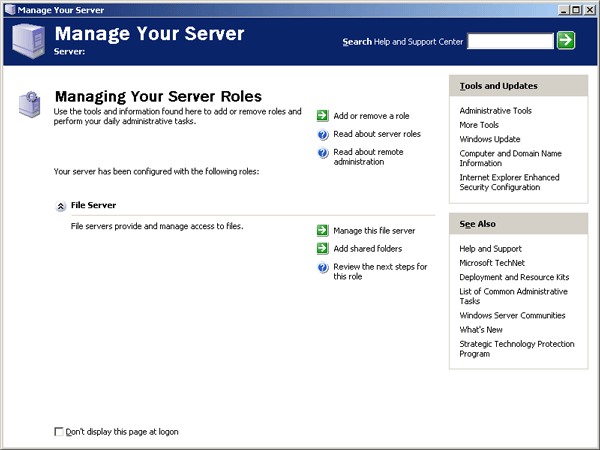
Modern Window Server versions come with a Server Manager that pops up upon log
in to allow a quick setup of a machine. To install IIS, select the Add Roles
section.
Dependant on the Windows version, choose either Application Server or Internet
Information Services.
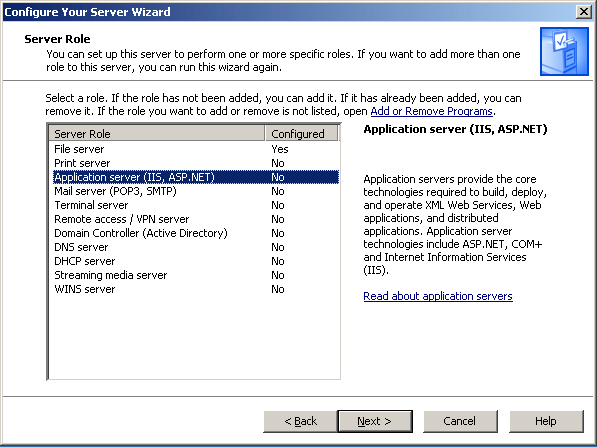
On the configuration screen the default settings will suffice for basic sites,
however if dynamic content with ASP is required, select ASP.NET in the options.
Windows Server / Windows Workstation
Navigate to Control Panel then choose Add/Remove Programs then/or Turn Windows
Features On or Off.
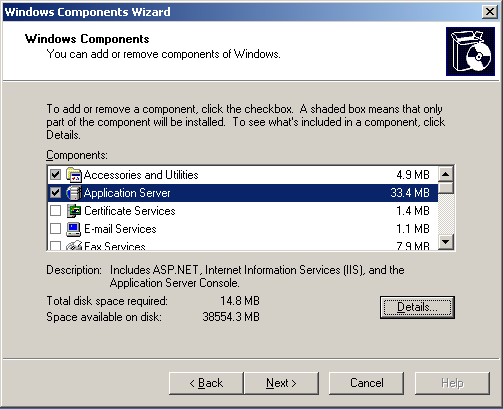
From the Add/Remove Windows Components window choose either Application Server
or Internet Information Services.
To add dynamic website capabilities click the details button and tick ASP.NET

Configuring IIS
Complete the install, then open the IIS manager from the start menu, under
Programs, Administrative Tools then Internet Information Services (IIS).
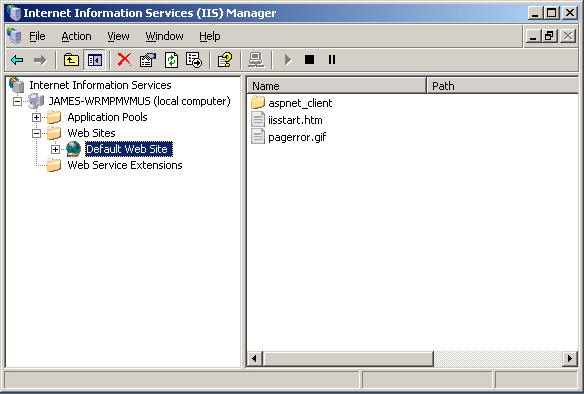
This is the window where all control of the web server is made. Navigate the
tree view to websites, a default website has been created.
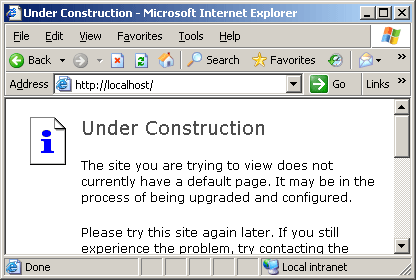
To test that IIS has been installed correctly, open a web browser and navigate
to http://localhost. If successful the default
website will display.
To add another website, first right click on the Default web site and click
Disable, this is to stop the new site conflicting with the default.
On the Websites folder, right click and choose New Website. Choose a description
for reference only, click next for the IP Address and Port Settings.
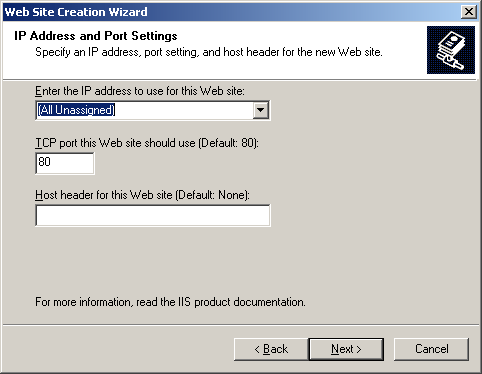
When setting up the first and only enabled website these fields can be left as
is, this page becomes important when adding multiple websites to the server.
Lets explain a little about this:
IP Address: If the server has two or more network cards, a
website can be channelled through a particular card, All Unassigned means it can
be accessed by all connections
Port: Almost all public websites use the industry defined port
80 for communication. This can be changed usually for websites used on a private
network, or as a security measure against automated attacks, but by using a
different port number for a public website it may not be visable to all users,
such as those on corporate networks and libraries where security is high.
Host Header: When a request for a web page comes to a server
with multiple websites, this field determines which website is served to a user
trying to access. For a single website, this can be left blank as all requests
will return the single site. Using a host header improves security and becomes
helpful when accessing on a local network.
Choose a path to the new website, ensure the Allow anonymous access is ticked to
allow the public to view the site.
On the Permissions options, the fewer chacked improves security, but Read Access
allows the public to view the site, and ticking Run Scripts allows dynamic
content.
Finish the wizard and the new website should be running on the server, this has
replaced the default website and can be tested in the same way be opening a
browser and navigating to http://localhost.
Installing IIS / Installing Apache
The Apache server (Apache HTTP Server Project) is officially offered as a source
code that allows it to be manipuled in any way, this means it has to be compiled
before it can be used and is complicated, Luckily there are people that have
already compiled it and offers Apache in a ready to use form in Windows. For
this installation I use Apache Haus that offer this service for free.
For a beginner a lot more reading is involved to avoid issues or seeminly dead
ends when installing, but patience will get a fully working web server.
Visit the ApacheHaus website, navigate to the download page and get the latest
version.
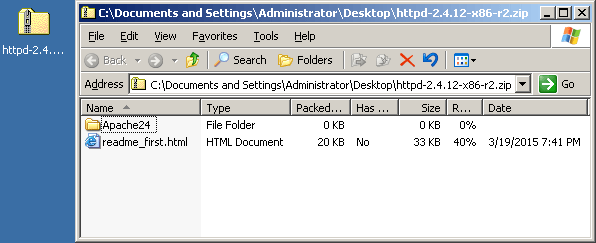
Apache is downloaded in Zip file, open and there is a folder containing all
program files and the readme which is a must read to get the web server
operational and to make it autonomous to the system.
Configure Apache
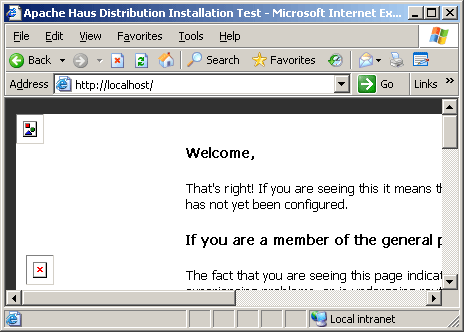
Once installed and running as a service as per the readme's guidance it can be
tested by opening a web browser and navigating to
http://localhost.
With the server running correctly, all configuration is made by editing
httpd.conf file found at C:\Apache\conf.
This can be modified by opening Notepad, clicking open and navigate and choose
this file.
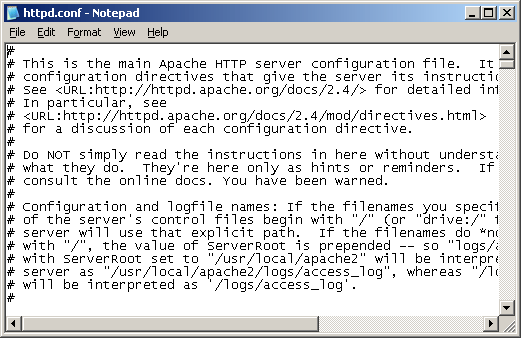
While this might seem strange to a Windows user, editing conf files directly is
how Linux has been operating for many years. To help newcomers all options in
the Apache conf file are well commented with the simple changes easy to manage,
trial and error is the best way forward but before tinkering it is a good idea
to backup the original file by copying and pasting to a different folder, this
way the webserver can be recovered if an unknown mistake occurs.